1. Introduction: Why barcode label software matters |
1.1. Purpose of this guide |
This document is written for beginners who want to quickly become productive with barcode label creation software. It explains the typical workflow, the common functional modules found in commercial and open-source products, practical step-by-step getting-started instructions, common pitfalls, and detailed descriptions of features and settings that matter. The goal is to make you confident enough to design, print, and manage barcode labels for real-world uses—inventory, shipping, retail, asset tracking, or laboratory sample labeling. |
1.2. Who this guide is for |
This guide targets people who have basic computer skills but are new to barcode technologies and label design. It assumes familiarity with Windows or macOS, a basic understanding of printing, and the ability to follow step-by-step procedures. No prior experience with barcode symbologies, standards, or label design software is required. |
1.3. How to use this guide |
Read sequentially for a full introduction. If you need quick results, use the quick start section (Section 2). Each major section is numbered for easy reference. Subsections provide practical tips, recommended default settings, and warnings about common mistakes. |

|
2. Quick start: create your first barcode label in under 15 minutes |
2.1. Summary of the quickest path |
1. Install a reputable barcode label application or trial version. |
2. Create a new label document and choose an appropriate label template or set custom page size. |
3. Add a barcode element and choose a symbology (for beginners, start with Code 128 or QR Code). |
4. Enter sample data and set human-readable text options. |
5. Add text or image elements (product name, logo) if needed. |
6. Set printer and print settings: paper type, label stock, print quality. |
7. Print a test page on plain paper; verify barcode readability with a smartphone or barcode scanner. |
2.2. Detailed quick steps |
2.2.1. Install and open the software |
Choose a software, download, and install it following on-screen prompts. Launch the application and select 'New Label' or 'New Document.' Many programs offer pre-defined industry templates (e.g., Avery sizes, 5160, or custom roll widths). |
2.2.2. Select page or label template |
Most barcode label tools support single label templates or multiple labels per page (label sheets) and continuous roll labels. Select the one that matches your label stock. If uncertain, measure a label and set custom label dimensions. |
2.2.3. Add a barcode element |
Drag or insert a barcode object. From the barcode properties, choose a symbology. For basic alphanumeric identifiers, choose Code 128. For Wi-Fi credentials or URLs, choose QR Code. Enter the data to be encoded (e.g., 'ABC-12345'). |
2.2.4. Validate human-readable text and quiet zones |
Enable or disable human-readable text depending on needs. Confirm the barcode has quiet zones (margins) sufficient for reliable scanning—most software sets this by default. |
2.2.5. Position other elements |
Add product name, price, or logo by inserting text or image elements. Use alignment guides or snap-to-grid features for neat layouts. |
2.2.6. Print a sample |
Select Print, choose your printer, set media type, and print one sheet on plain paper. Check scanning with a smartphone barcode scanner. If unreadable, increase size, raise print quality, or adjust contrast. |

|
3. Barcode basics for beginners (what to know before you design) |
3.1. What a barcode is |
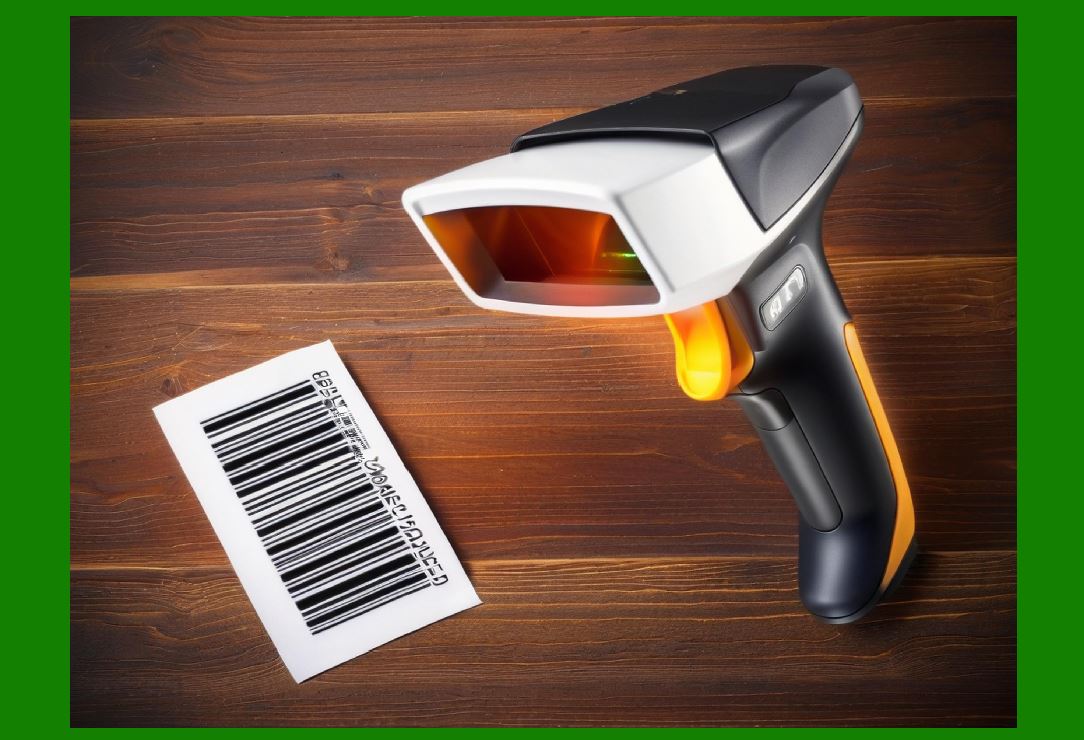
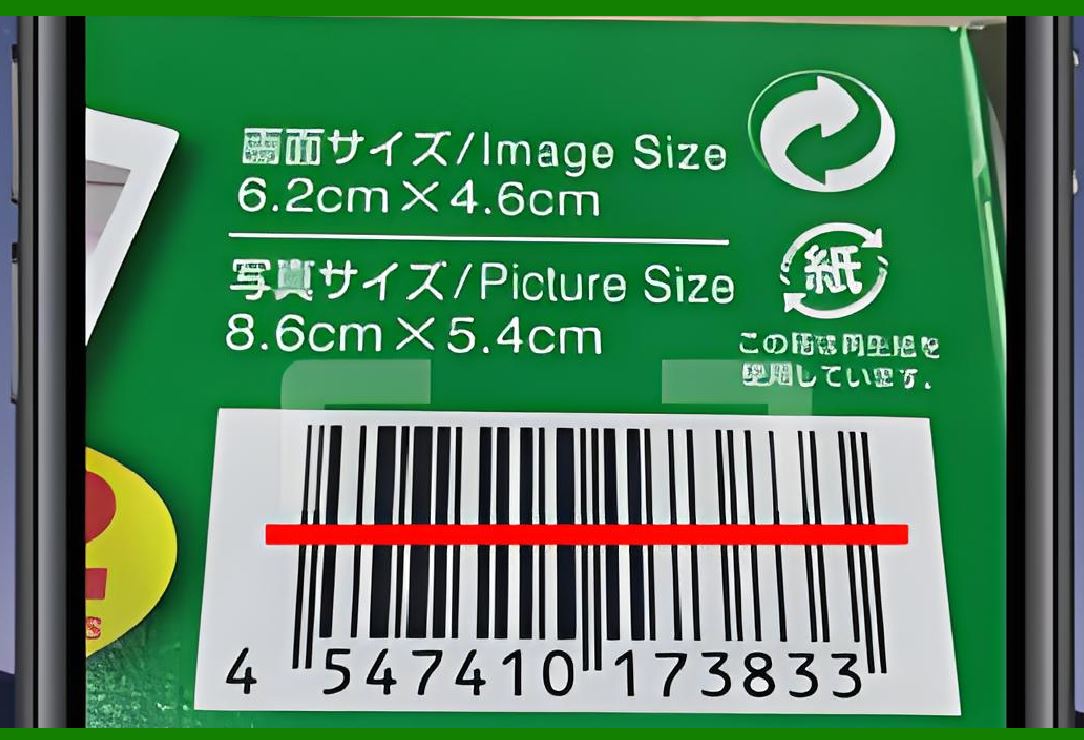
A barcode encodes information as patterns lines (1D) or modules (2D) that barcode readers interpret into text or structured data. 1D barcodes encode linear sequences, 2D codes use a matrix or pattern to store more data. |
3.2. Common barcode types and typical uses |
1D (linear): EAN-13 for retail product GTINs, UPC-A common in the US, Code 128 for flexible alphanumeric identifiers, Code 39 for military and older applications, Interleaved 2 of 5 for logistics. |
2D (matrix): QR Code for URLs and general-purpose use; Data Matrix for small-item and industrial marking; PDF417 for transport or government documents; Aztec Code for travel and tickets. |
3.3. Key parameters that affect readability |
Size: Minimum dimensions depend on symbology and data density. |
Resolution: Print device dpi must be sufficient for the barcode module size. |
Contrast: High contrast between foreground and background improves scanning. |
Quiet zone: A margin of blank space required around the barcode. |
Check digit and symbology rules: Many symbologies require calculated checksums. |
3.4. When to use which symbology—practical guide |
Low data, linear labels like SKU numbers: Code 128 or Code 39. |
Small labels or high data density (medical vials, electronics): Data Matrix. |
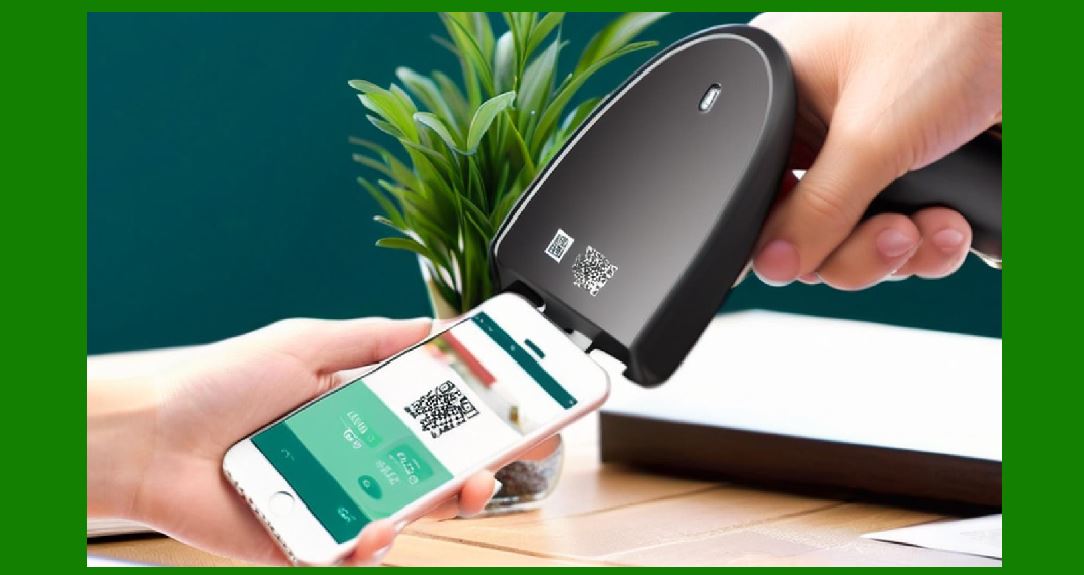
URLs, contact cards, Wi-Fi: QR Code. |
Government or ID documents requiring several compartments of data: PDF417. |
Logistics: EAN-128/GS1-128 to include structured GS1 Application Identifiers. |
|
4. Typical barcode label software workflow |
4.1. Project setup and label definition |
Create a new label project, define the page or roll size, set margins, and the number of labels per sheet. Set a name and save as a template for reuse. |
4.2. Data entry and data source connection |
Simple static labels: type data directly into the element. |
Variable data labels: connect to data sources CSV, XLSX, database, or manual batch editor. |
Merge logic: map data fields to label elements and preview merged labels before printing. |
4.3. Barcode and element design |
Place barcode symbols, text blocks, images, and shapes. Set fonts, sizes, text wrapping, alignment, and borders. For barcodes, specify symbology, encoding mode, check digit options, module size, rotation, and error correction for 2D codes. |
4.4. Verification and print setup |
Enable print preview and run test prints. Configure printer settings, choose label roll or sheet, set thermal transfer or direct thermal options if using specialized printers. |
4.5. Print and export |
Print directly or export to image (PNG, TIFF), vector (PDF, SVG, EMF), or printer languages (ZPL, EPL). For thermal label printers, outputting native printer command language files (ZPL) can increase print speed and consistency. |
|
5. Common functional modules in barcode label software (high-level list) |
5.1. Label/template manager |
Area of focus: Managing label formats, templates, and reusable designs. |
Advantages: Speeds up recurring tasks, enforces brand/layout consistency, quick switching between label types. |
Disadvantages: Templates can become numerous; managing versions may be challenging without naming conventions. |
5.2. Data editor / Data source connector |
Area of focus: Inputting and managing variable data for batch printing; connecting external databases. |
Advantages: Allows bulk label generation from spreadsheets or databases, supports advanced field formatting and data validation. |
Disadvantages: Complex connectors can have a learning curve; errors in mapping can cause misprinted labels. |
5.3. Barcode generation engine |
Area of focus: Encoding data into barcode symbologies and rendering them at appropriate sizes and resolutions. |
Advantages: Centralized control over symbology rules and error correction, supports many barcode types. |
Disadvantages: Some engines may lack support for niche symbologies, or have limitations with specific encodation features. |
5.4. Barcode verifier integration |
Area of focus: Verifying printed barcodes for quality, ensuring they meet ISO or industry-specific standards. |
Advantages: Improves reliability for supply chain use, can prevent thousands of mis-shipments. |
Disadvantages: Verification hardware/software can be costly and adds complexity to the workflow. |
5.5. Print driver / Direct printer language export |
Area of focus: Communicating directly with label printers using Windows drivers or native printer languages like ZPL. |
Advantages: Better performance for thermal printers, ability to send code for on-demand printing from devices. |
Disadvantages: Requires knowledge of printer languages; driver incompatibilities can cause layout shifts. |
5.6. Graphics and layout editor |
Area of focus: Visual design tools for placing and formatting text, images, shapes, and barcodes. |
Advantages: WYSIWYG layout speeds design iterations; layers and alignment tools produce professional results. |
Disadvantages: For complex graphics tasks, label software may be less capable than dedicated graphic design applications. |
5.7. Serialization and sequence control |
Area of focus: Generating sequential numbers, patterned sequences, or complex serial logic. |
Advantages: Essential for creating unique IDs, production runs, or serialized assets. |
Disadvantages: Misconfiguration can result in duplicated IDs; backup/version control for sequences is critical. |
5.8. Security and permissions module |
Area of focus: Controlling access to templates, print jobs, and data sources in multi-user environments. |
Advantages: Prevents accidental or malicious changes; helps meet compliance requirements. |
Disadvantages: Adds administrative overhead and complexity. |
5.9. Integration and API module |
Area of focus: Programmatic control of label generation and printing via REST APIs, SDKs, or command-line tools. |
Advantages: Enables automation and integration with ERP/WMS systems. |
Disadvantages: Requires development effort and testing; API changes can break integrations. |
5.10. Reporting and logging |
Area of focus: Track print jobs, usage, and error logs for auditing and troubleshooting. |
Advantages: Useful for cost control and traceability. |
Disadvantages: Logs must be managed to avoid storage bloat; privacy considerations for stored data. |

|
6. Detailed analysis of each module: features, focus, pros and cons |
6.1. Label/template manager deep dive |
Features commonly found: |
Pre-built industry templates for sheet labels and roll labels. |
Customizable canvas with ruler, guides, and grid snapping. |
Template inheritance or cloning to base new designs on existing ones. |
Version history or simple 'save as' workflows. |
Focus: |
Maintain consistent company branding and layout standards; accelerate creation of different label variants. |
Advantages: |
Less repetitive work when printing similar labels. |
Easier collaboration when templates are shared across teams. |
Disadvantages: |
Without good naming/version rules, templates proliferate and cause confusion. |
Migrating templates between different software products often requires manual re-creation. |
Practical tips: |
Use a consistent naming convention including size, date, and purpose. |
Keep a 'master' template for official layouts and a 'work' template for experiments. |
6.2. Data editor / Data source connector deep dive |
Features commonly found: |
Built-in spreadsheet-like data editor for manual editing. |
Data importers for CSV, Excel, and ODBC connections to databases. |
Field mapping interfaces to connect data columns to text or barcode objects. |
Support for conditional formatting and derived fields (concatenation, substrings). |
Focus: |
Enable variable data printing for batch label generation and merges. |
Advantages: |
Efficiently print hundreds or thousands of unique labels with minimal manual effort. |
Validate and preprocess data inside the application before merging. |
Disadvantages: |
Poorly-formatted data files can introduce errors; data cleaning is often necessary. |
Some connectors require drivers or licensing to access databases. |
Practical tips: |
Always preview a merge before printing the full batch. |
Keep a small test file that includes edge-case values to test encodings and field widths. |
6.3. Barcode generation engine deep dive |
Features commonly found: |
Support for major 1D and 2D symbologies and configurable options. |
Module size settings (X-dimension), bar heights, and human-readable text controls. |
Encoding options: character set selection, subset modes, structured append for QR codes. |
Error correction level settings for 2D codes. |
Focus: |
Correctly encode data into symbology-specific formats while exposing enough options for real-world constraints. |
Advantages: |
Good engines ensure standards compliance, improving cross-device readability. |
Disadvantages: |
Some engines implement only a subset of optional features which can be a problem for standard-specific use-cases. |
Practical tips: |
Use recommended module sizes for your printer resolution; for thermal printers, small modules may not render well. |
When using GS1 standards, ensure the software can encode application identifiers correctly. |
6.4. Barcode verifier integration deep dive |
Features commonly found: |
Pass/fail measurements, grade scoring (A-F) according to ISO/IEC quality metrics. |
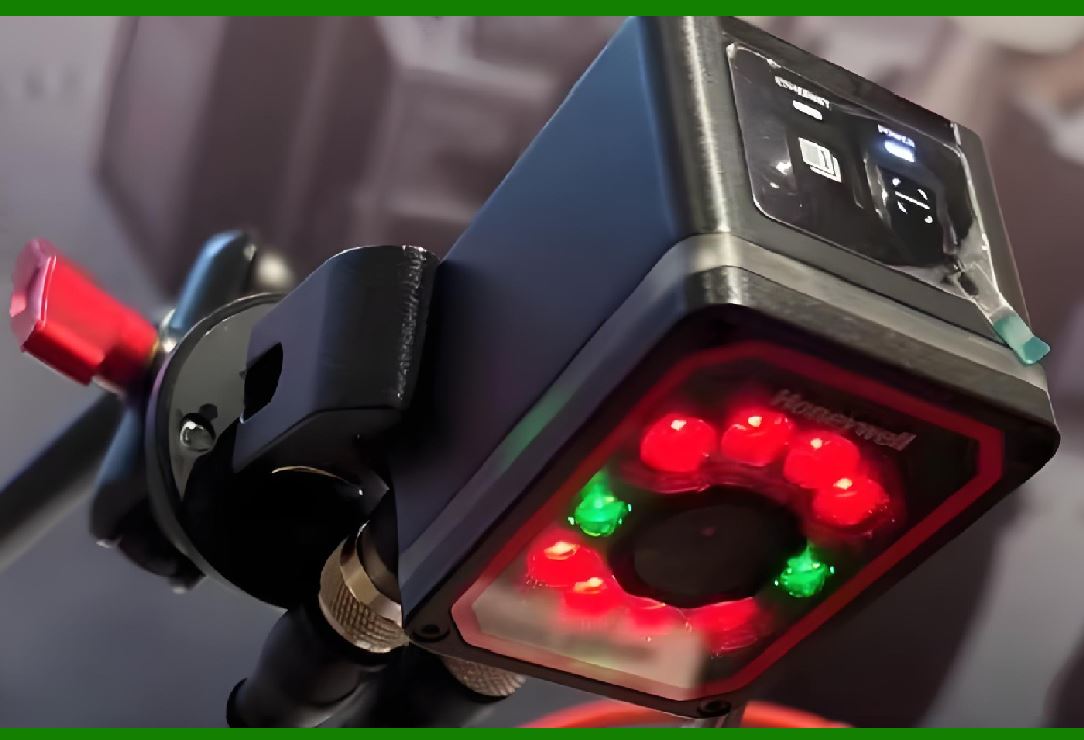
Integration with handheld verifiers or camera-based vision systems. |
Automated acceptance thresholds for batch quality control. |
Focus: |
Assure barcode quality for regulated supply chains, warranty tracking or retail environments. |
Advantages: |
Early detection of print that might fail in the field. |
Protects reputation and avoids costly product recalls or shipping errors. |
Disadvantages: |
Additional cost in hardware and training; may be overkill for low-volume, internal use. |
Practical tips: |
For mission-critical labels, run verification on the first production sheet and periodically afterward. |
Keep verifier calibration certificates up to date if compliance requires them. |
6.5. Print driver / Direct printer language export deep dive |
Features commonly found: |
Native support for common thermal printer languages (ZPL, EPL, DPL). |
Print drivers for Windows or direct socket printing for networked printers. |
Options to embed fonts or images as printer-ready objects. |
Focus: |
Deliver accurate and repeatable printing results across different hardware. |
Advantages: |
Native language output reduces rendering differences and can speed print throughput. |
Disadvantages: |
Printer firmware and driver versions vary, introducing incompatibilities. |
Practical tips: |
Test the output on the actual printer hardware before mass production. |
When possible, export a device-specific file and test on a test printer. |
6.6. Graphics and layout editor deep dive |
Features commonly found: |
Drag-and-drop interface with precise positioning controls. |
Support for vector and raster images; basic drawing tools (lines, rectangles, circles). |
Layering, grouping, alignment, and distribution controls. |
Focus: |
Create visually appealing and functionally accurate labels that include brand graphics and regulatory text. |
Advantages: |
WYSIWYG design reduces guesswork and speeds development. |
Disadvantages: |
Complex artwork may exceed the capabilities of label software; integration with a vector editor may be required. |
Practical tips: |
Keep text legible at the chosen print size; use simple fonts for small labels. |
Convert complex logos to vector outlines to avoid rasterization artifacts at small sizes. |
6.7. Serialization and sequence control deep dive |
Features commonly found: |
Sequential counters, check digit generation, patterned series (prefixes/suffixes), and randomizers. |
Conditional logic to change sequences based on fields or dates. |
Focus: |
Generate unique identifiers reliably for serialized production runs. |
Advantages: |
Automation reduces human error in assigning IDs. |
Disadvantages: |
Risk of duplication if sequences are reset or not centrally coordinated in multi-user environments. |
Practical tips: |
Reserve a sequence management policy and keep backups of the last used numbers. |
Use check digits to detect transcription errors when barcodes are manually entered. |
6.8. Security and permissions module deep dive |
Features commonly found: |
Role-based access control, template locking, and audit trails. |
Integration with directory services for user management. |
Focus: |
Protect critical templates and data from accidental modification and control who can print or export high-value labels. |
Advantages: |
Maintains compliance and brand integrity. |
Disadvantages: |
Additional setup and maintenance overhead for administrators. |
Practical tips: |
Restrict rights to edit master templates only to a small group. |
Keep a read-only archive of approved templates. |
6.9. Integration and API module deep dive |
Features commonly found: |
RESTful APIs, SDKs, command-line utilities, and webhooks for automating label print jobs. |
Support for embedded systems that request on-demand generation. |
Focus: |
Automate label creation from business systems and embed printing in operational workflows. |
Advantages: |
Reduces manual steps and allows integration with inventory and ERP systems. |
Disadvantages: |
Requires developer time and testing; API versioning may cause maintenance work. |
Practical tips: |
Start with a small integration proof-of-concept before scaling. |
Log all API requests and responses to aid troubleshooting. |
6.10. Reporting and logging deep dive |
Features commonly found: |
Records of print job metadata, who printed what, and error events. |
Exportable reports for usage analysis and chargeback. |
Focus: |
Provide traceability for auditing and help optimize label production costs. |
Advantages: |
Helps identify waste or misuse; simplifies compliance reporting. |
Disadvantages: |
Data retention policies must be managed to avoid privacy or storage problems. |
Practical tips: |
Keep printing logs for a reasonable retention period relevant to your business needs. |
Anonymize personal data where possible in reports. |
|
7. User interface patterns and terminology explained |
7.1. Canvas / design area |
The visual area where you place label elements. Common features include rulers, grid, snap-to-grid, and guides. Understand layer ordering (front/back) for overlapping objects. |
7.2. Property inspector |
A contextual panel where you change properties of selected elements: barcode type, data, font, rotation, and alignment. |
7.3. Data mapping or 'bind' panel |
Where fields from your data source are mapped to text or barcode objects. Look for preview options to see merged results. |
7.4. Preview and print queue |
Preview shows a digital mockup of printed labels. The print queue manages pending and completed jobs in multi-user setups. |
7.5. Export vs. Print |
Export writes a file (image, PDF, or printer language). Print sends output directly to a physical printer. For production, create device-specific exports and verify on the target printer. |

|
8. Choosing the right barcode software for beginners: criteria checklist |
8.1. Licensing model and cost |
Free vs. paid: free tools may be adequate for occasional use, but commercial tools add support and advanced features. |
8.2. Supported symbologies |
Ensure the software supports the symbologies you need (GS1-128, Data Matrix, QR Code, etc.). |
8.3. Data source support |
Check compatibility with your existing data files or databases (CSV, Excel, ODBC, SQL). |
8.4. Printer compatibility |
Confirm support for your printers, especially if using thermal label printers with ZPL/EPL languages. |
8.5. Ease of use and learning resources |
Look for trial versions, tutorials, templates, and documentation that support rapid onboarding. |
8.6. Integration capability |
If you plan automated printing, verify API or SDK availability. |
8.7. Support and maintenance |
Commercial support plans can be crucial for mission-critical deployments. |
8.8. Compliance and verification |
For regulated industries, support for verifier integration and standards compliance is necessary. |

|
9. Step-by-step expanded beginner tutorial (with practical checks and defaults) |
9.1. Step 1: Prepare |
Decide what you are labeling and what data is required. |
Choose the symbology based on data length and label size. |
Prepare a small sample dataset in CSV with 10-20 rows including edge cases. |
9.2. Step 2: Create a new label project |
Start a new label and choose a template close to your label stock. |
If unavailable, set custom page size. For label sheets, define rows and columns, margins, and pitch (the distance between labels). |
9.3. Step 3: Add your barcode and set properties |
Insert a barcode object; choose Code 128 for short alphanumeric IDs, or QR Code for URLs. |
Set module size (X-dimension) using the software recommended settings for your printer DPI. |
Turn on human-readable text if needed and set font and position. |
9.4. Step 4: Connect data source for batch printing |
Use the data import wizard to load your CSV or Excel file. |
Map columns to barcode and text objects. Validate types if the software supports it. |
9.5. Step 5: Arrange other elements |
Add text for product name or price. Set contrast, font size, and truncate or wrap long text. |
Insert a logo as a vector when possible, or use high-resolution PNG. |
9.6. Step 6: Preview and test |
Use preview to view a few merged labels. Inspect edge cases. |
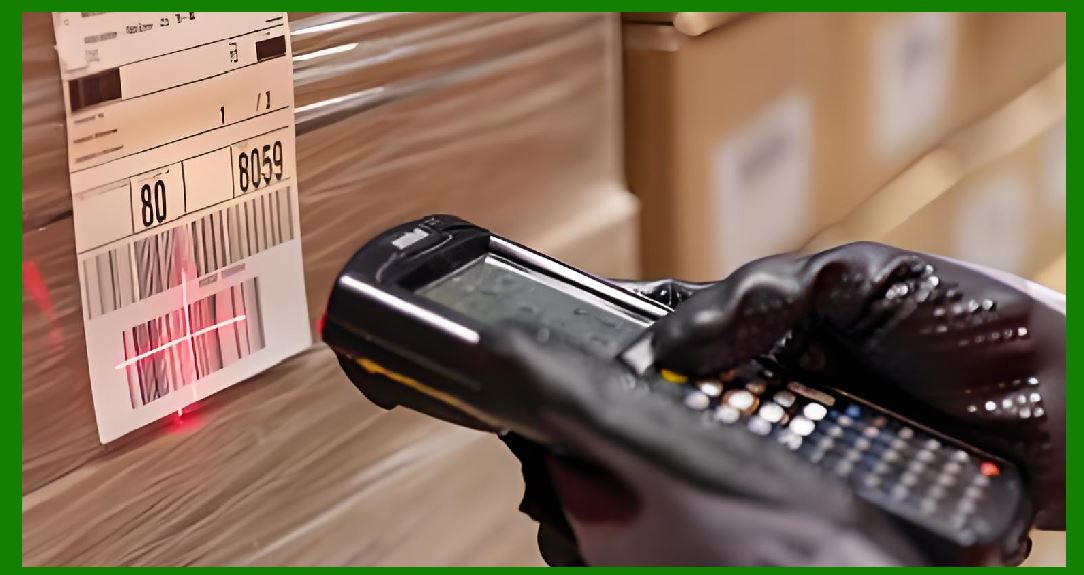
Print on plain paper and test with a scanner app. If using a thermal printer, print a few runs and verify. |
9.7. Step 7: Fine-tune |
If scan fails: enlarge the barcode, lower data density (switch symbology), or increase print DPI. |
If placement misaligns: recalibrate label pitch and margins in template settings. |
9.8. Step 8: Print final batch |
Use the final printer media and check printer settings for darkness, speed, and media type. |
For high-volume runs, sample-check periodically to catch printer drift or label stock issues. |
|
10. Advanced beginner topics: what to learn next |
10.1. GS1 standards and application identifiers |
If you need to encode GTINs, batch numbers, or expiration dates, learn GS1-128 and application identifiers. This adds structure required by many retailers and distributors. |
10.2. Check digits and mod calculations |
Understand how check digits are calculated (e.g., UPC/EAN check digit) and when the software automatically inserts them. |
10.3. Thermal printing basics |
Learn the differences between direct thermal and thermal transfer printing, ribbon considerations, and printhead care. |
10.4. Printer language and native formats |
Familiarize yourself with ZPL or EPL if using Zebra printers or other native formats for more consistent results. |
10.5. Barcode verification standards |
For enterprise use, learn ISO/IEC barcode grading standards and how to interpret verification grades. |

|
11. Common problems and how to fix them |
11.1. Barcode won scan |
Possible causes and fixes: |
Low contrast: use darker ink or darker label stock. |
Too small: increase module size. |
Incorrect quiet zones: add margins. |
Printer resolution: move to higher DPI; adjust module size. |
11.2. Misaligned print on label sheets |
Causes and fixes: |
Incorrect template dimensions: remeasure and correct pitch. |
Printer feed mechanism: calibrate the printer like 'label size' in driver settings. |
11.3. Data merge errors |
Causes and fixes: |
Wrong field mapping: re-check the bind panel. |
Bad CSV encoding: save CSV in UTF-8 or ANSI depending on the software. |
11.4. Printing too light or too dark |
Causes and fixes: |
Adjust print darkness in printer driver or label app. |
Check ribbon and media compatibility for thermal transfer. |

|
12. Best practices for enterprise readiness |
12.1. Centralize templates and sequences |
Keep master templates, sequence seeds, and naming conventions in a permissioned location with backups. |
12.2. Use version control for templates |
Store templates with version comments to track changes and revert if necessary. |
12.3. Logging and auditing |
Log print events and access to templates for traceability. |
12.4. Training and documentation |
Provide concise SOPs for common tasks and set minimum training for staff who print labels. |
12.5. Test and verification plan |
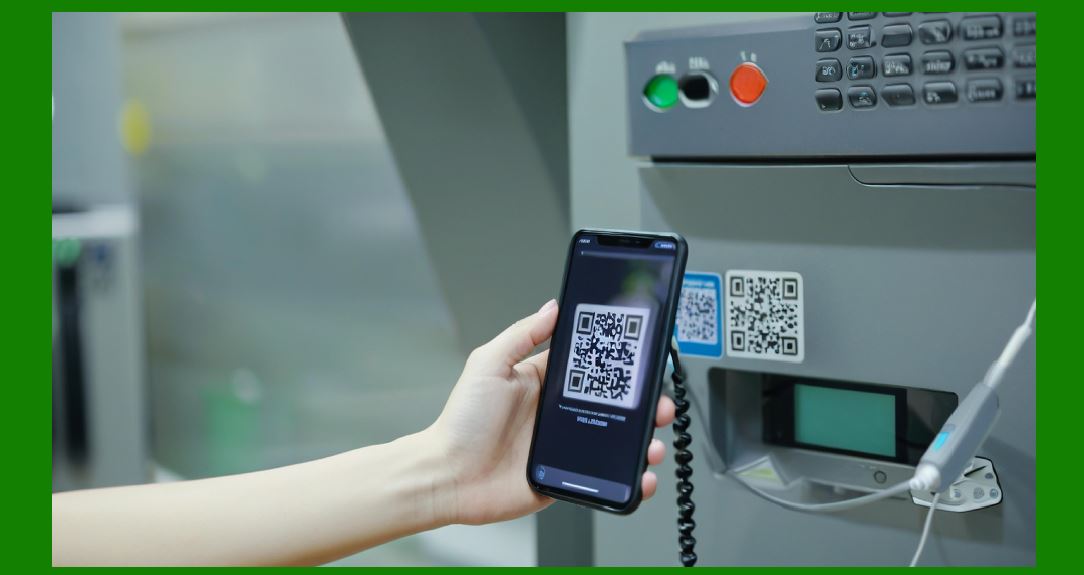
Institute sample verification procedures and periodic checks of barcode readability. |
|
13. Integration scenarios and automation examples |
13.1. ERP to label automation |
Use APIs or middleware to pull SKU, batch, and location data from the ERP and automatically generate labels. This reduces manual entry and improves accuracy. |
13.2. Web-to-print for distributed teams |
Provide a web portal where remote users can create or request pre-approved labels and send them to local printers. |
13.3. On-demand serialization for production lines |
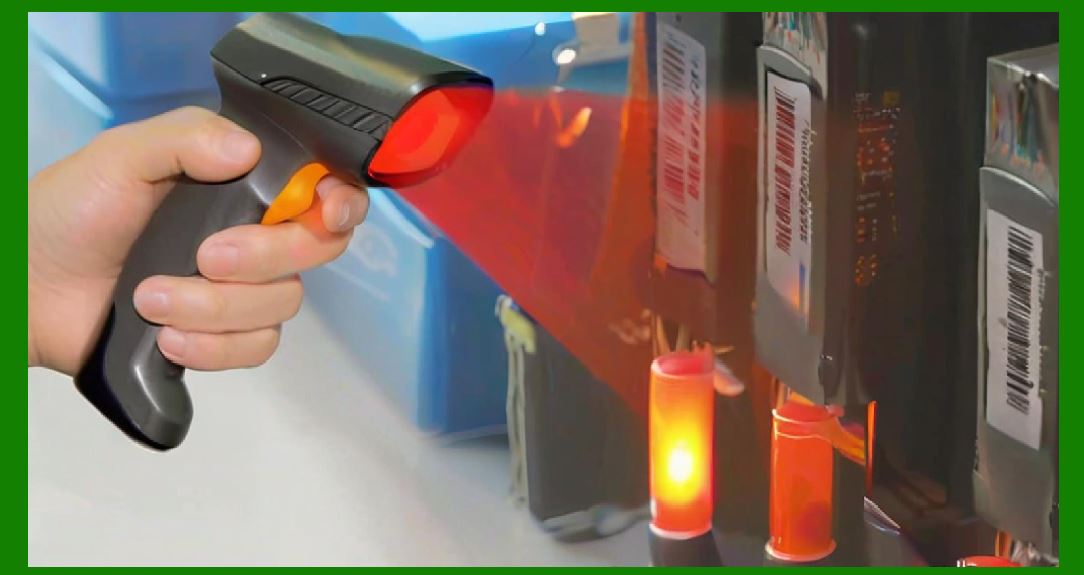
Automate sequence allocation and printing triggered by production events to ensure unique serials without human intervention. |
|
14. Printing technologies and how they affect label design |
14.1. Inkjet vs. Laser vs. Thermal |
Inkjet: color flexibility but smudging risk; substrate compatibility matters. |
Laser: sharp text and graphics, not ideal for heat-sensitive materials. |
Thermal direct/transfer: common for labels; thermal transfer uses a ribbon for durable prints. |
14.2. Resolution considerations |
Printer DPI determines minimum X-dimension of barcodes. Higher DPI allows smaller barcodes. |
14.3. Durability and substrate choices |
Select label stock (paper, synthetic) and adhesives suitable for environmental exposure (heat, chemicals, outdoor). |

|
15. Regulatory and industry-specific considerations |
15.1. Food and beverage |
Include ingredient and nutritional labeling where required, allergen statements, and batch/lot tracking. |
15.2. Pharmaceutical and medical |
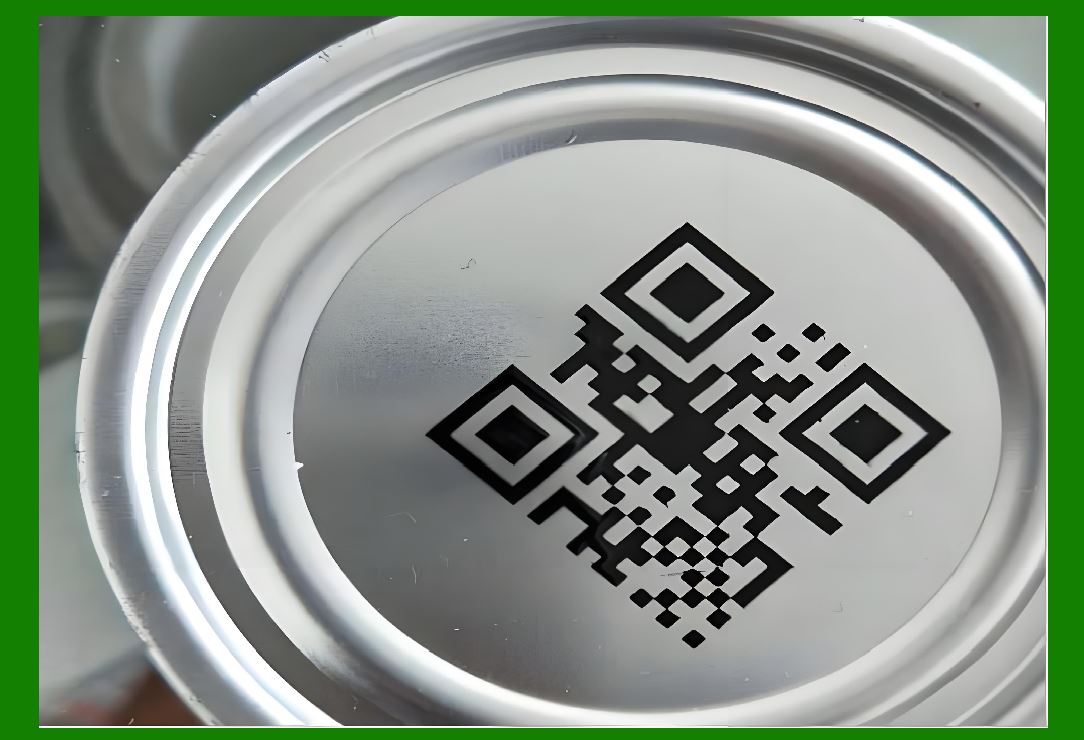
High precision and verification standards apply. Data Matrix is common for small items and regulatory compliance. |
15.3. Aerospace and automotive |
Durability, traceability, and part identification standards may require specific symbologies and marking methods. |
|
16. Accessibility and user experience considerations |
16.1. Human-readable text |
Always include readable text for critical fields so humans can read identifiers when barcode scanners are unavailable. |
16.2. Color contrast and colorblindness |
Avoid encoding in low-contrast color combinations. Test prints in grayscale to ensure readability. |
16.3. Size and placement |
Place barcodes where they are not likely to fold, be scratched, or be covered by packaging seams. |
|
17. Migrating templates and data between systems |
17.1. Export formats to prefer |
-export to standardized formats such as PDF, SVG, or printer languages for transport. |
17.2. Recreating templates |
If exporting templates is not supported, document sizes and element positions carefully for reconstruction. |
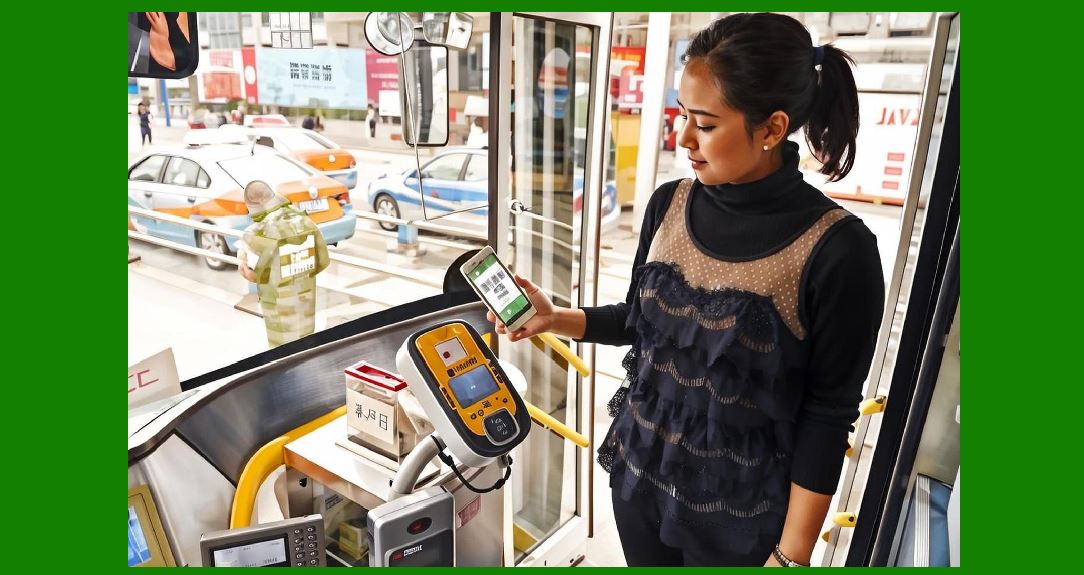
17.3. Data migration |
Normalize field names and encodings; keep a mapping document to pair old fields with new fields. |
|
18. Security, privacy and compliance |
18.1. Sensitive data on labels |
Avoid printing personal identifiable information unless necessary; if required, evaluate encryption or restricted access to templates. |
18.2. Data retention |
Be mindful of what data is embedded in label files or logs and how long it is retained. |
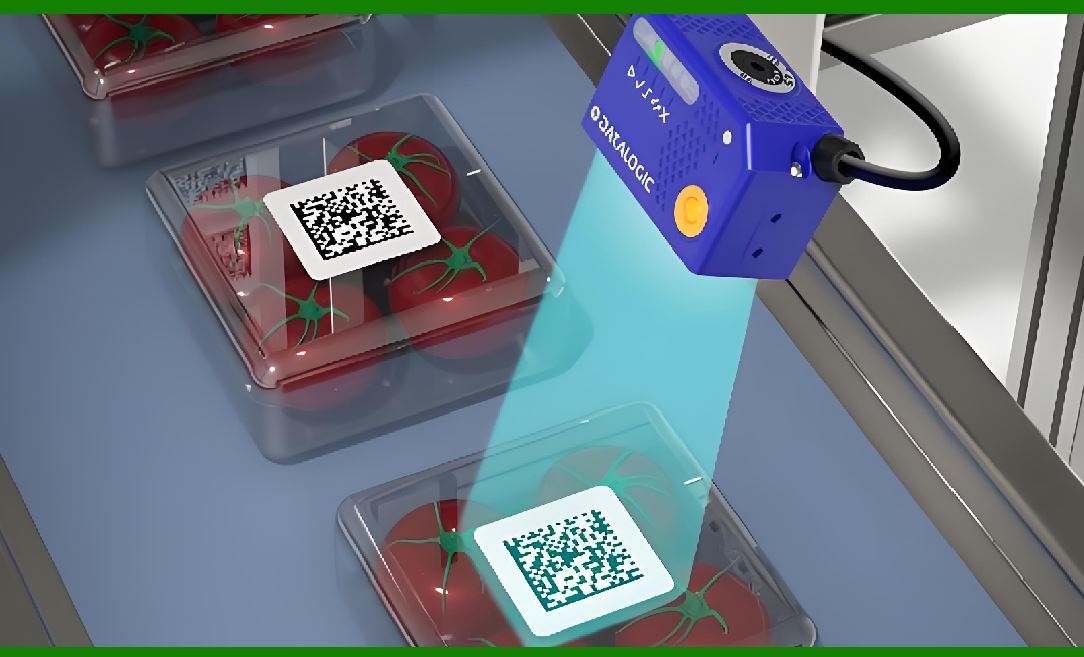
18.3. Supply chain trust |
Use verification and tamper-evident features for high-value goods or regulated supply chains. |
|
19. Cost considerations and procurement advice |
19.1. Software licensing |
Consider upfront license costs, per-seat fees, and whether server-based licensing is needed for high-volume environments. |
19.2. Hardware costs |
Evaluate the total cost of ownership for label printers and whether they require consumables like ribbons. |
19.3. Training and support |
Budget time and money for initial training and ongoing vendor support. |
|
20. Troubleshooting checklist for production runs |
20.1. Pre-run checks |
Validate sample prints for barcode readability. |
Check printer ribbon/media and printhead condition. |
Confirm label template and data mappings. |
20.2. During-run monitoring |
Periodic spot-check scanning. |
Monitor print darkness and adjust as needed. |
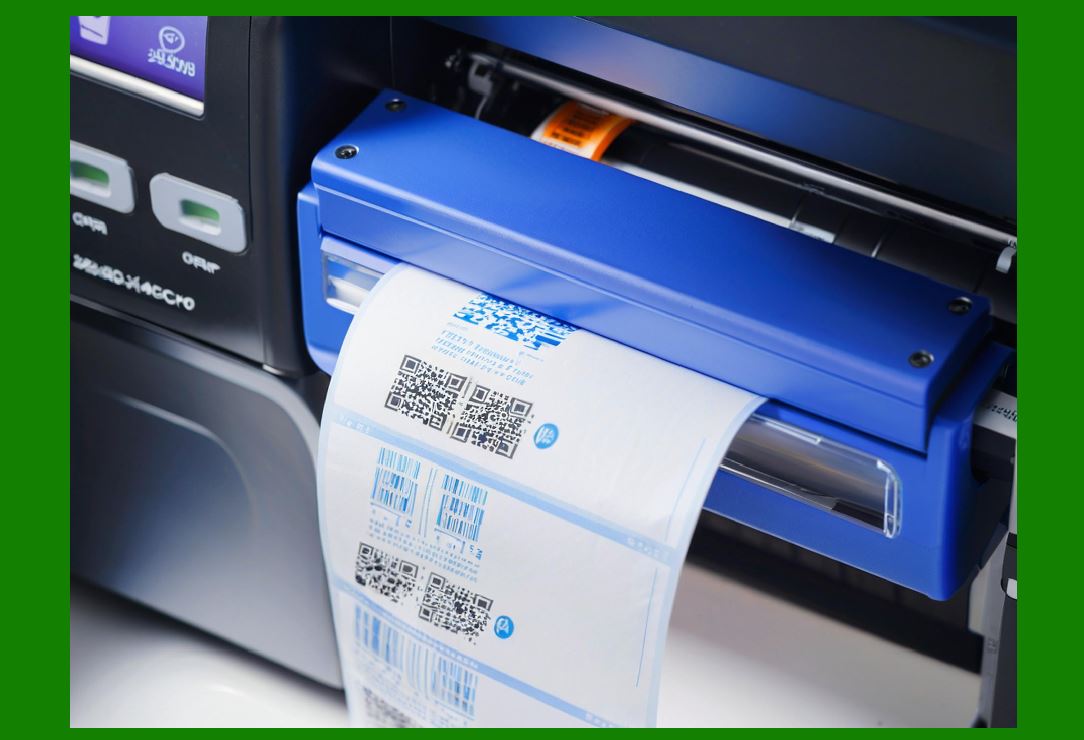
20.3. Post-run actions |
Log errors and failed scans. |
Quarantine suspect labels and reprint if necessary. |
|
21. Examples of common label types and how to design them |
21.1. Product price label |
Include product name, price, barcode for POS, and optional promotional text. Use large fonts for price and ensure barcode is scannable at checkout distances. |
21.2. Shipping label |
Include sender/receiver addresses, tracking barcode (typically Code 128 or a carrier-specific format), and human-readable tracking number. |
21.3. Asset tag |
Small durable labels with unique serial Data Matrix or Code 128 barcodes and optional tamper-evident features. |
21.4. Laboratory sample label |
High-density Data Matrix codes with sample ID and collection date; use synthetic labels resistant to refrigeration and solvents. |

|
22. Template naming and organization conventions (practical examples) |
22.1. Recommended naming pattern |
Use: [Department]*[Purpose]*[Size]_[Version] e.g., WAREHOUSE_SHIP_4x6_v03 |
22.2. Folder and permission structure |
Organize templates by functional area and restrict edit rights to template owners. |
|
23. Training plan outline for teams |
23.1. Beginner curriculum (2-4 hours) |
Overview of barcode basics and common symbologies. |
Hands-on creation of a label from template to print. |
Data import and simple serialization. |
23.2. Intermediate curriculum (4-8 hours) |
Integrations and API basics. |
GS1 basics and compliance checks. |
Printer maintenance and calibration. |
23.3. Ongoing support |
Provide quick reference guides and a sandbox template library for practice. |

|
24. Checklist before switching software vendors |
24.1. Feature parity matrix |
Confirm the new software supports required symbologies, printer output, and data connectors. |
24.2. Migration plan |
Map templates and data, test exports, and perform pilot runs. |
24.3. Cost-benefit analysis |
Consider migration costs, training, and support in addition to license savings. |

|
25. Appendix: practical defaults and recommended settings for beginners |
25.1. Printer and barcode defaults |
Desktop laser or inkjet for prototypes; thermal transfer for production labels. |
Default symbology for alphanumeric IDs: Code 128. |
Default 2D symbology for URLs: QR Code with medium error correction. |
Default label margins: keep at least 2 mm quiet zones around barcodes. |
Default test print: use a smartphone scanner and one dedicated hardware scanner for verification. |
25.2. Common module sizes and DPI guidance |
For 203 dpi thermal printers, start with an X-dimension of 10 mil (0.010 inch) for Code 128. |
For 300 dpi printers, an X-dimension of 7.5 mil is feasible. |
For Data Matrix small item labels, target a symbol size that results in modules of at least 8-10 microns scaled to printer DPI; rely on software presets. |
|
Conclusion |
This guide provides a broad and practical foundation for beginners to quickly get started with barcode label creation software and to understand the major functional modules, their purposes, strengths and weaknesses. For immediate success, follow the quick start steps in Section 2, prepare a small sample dataset, and iterate using test prints. As your needs mature, focus on integrating data sources, using native printer languages for consistency, and implementing verification where required. |
 cs@easiersoft.com