Chapter 26: Teaching by Demonstration |
Part IV: Control and Programming |
26.1 A Short Summary of This Chapter |
Teaching by Demonstration, often shortened to TbD, is one of the oldest and most intuitive ways to program an industrial robot. Instead of writing lines of code in a text editor, a human operator physically guides the robot arm through a series of positions. The robot remembers these positions as waypoints. Later, the robot repeats the recorded path or sequence of points to perform a task. This method became the dominant programming approach in the early decades of industrial robotics because it required no deep knowledge of computer programming. A skilled worker who understood the process could teach the robot directly on the factory floor. Over time, vendors added offline programming languages and simulation tools, but teaching by demonstration never disappeared. It remains widely used in painting, welding, pick-and-place, machine tending, and many other applications. This chapter explains how teaching by demonstration works, why it became so important, what its strengths and weaknesses are, and how it is used across different industries. Real examples from automotive, electronics, food processing, metal fabrication, plastics, glass, logistics, and aerospace are included. The chapter ends with a detailed summary of the key points. |
|
26.2 What Teaching by Demonstration Means |
Teaching by demonstration is a programming method in which a human operator moves a robot arm manually or with the help of a control pendant. The robot records the positions it passes through. These recorded positions are called waypoints. A waypoint is simply a stored location in space, often with additional information such as orientation, speed, and tool settings. After teaching, the robot can replay the motion from one waypoint to the next. If the task requires a continuous path, such as painting or welding, the robot may record a dense series of points or a smooth trajectory. If the task is a sequence of discrete moves, such as picking up a part and placing it on a conveyor, only a few waypoints may be needed. |
The key idea is that the programmer does not write abstract code. Instead, the programmer shows the robot what to do by moving it. The robot learns by imitation. This is why the method is called teaching by demonstration. It is also sometimes called lead-through programming, walk-through programming, or teach pendant programming, although these terms are not always identical. Lead-through programming usually means physically moving the arm by hand. Teach pendant programming means using a handheld device with buttons or a joystick to jog the robot. Both are forms of teaching by demonstration because the operator is guiding the robot to positions that are recorded as waypoints. |
|
26.3 Historical Background |
In the 1960s and 1970s, industrial robots such as the Unimate were programmed mainly by teaching. The robot controller had limited memory and no graphical interface. The operator used a pendant to move the arm to a desired position, then pressed a button to record that point. The robot could then repeat the sequence. This was a breakthrough because it allowed factories to automate tasks without hiring computer programmers. The method spread quickly in the automotive industry, especially for spot welding and die casting. By the 1980s, teaching by demonstration was the standard way to program robots. Offline programming languages existed, but they were vendor-specific and often difficult to use. Even today, many robot vendors provide their own offline languages, such as KUKA Robot Language, ABB Rapid, Fanuc Karel, and Yaskawa Inform. These languages are powerful, but they are usually used in addition to teaching, not as a complete replacement. In many small and medium-sized factories, teaching by demonstration is still the primary programming method. |

|
26.4 How Teaching by Demonstration Works |
The process usually follows a few basic steps. First, the operator selects a program number or creates a new program. Second, the operator uses a teach pendant or direct manual guidance to move the robot to the first waypoint. Third, the operator records that waypoint. Fourth, the operator moves the robot to the next waypoint and records it. This continues until all required positions are stored. Fifth, the operator sets motion parameters such as speed, acceleration, blend radius, and tool orientation. Sixth, the operator runs the program in a slow mode to check for collisions or errors. Seventh, the operator adjusts waypoints or parameters as needed. Finally, the program is saved and can be run in automatic mode. |
In modern robots, the teach pendant is often a touchscreen device with a joystick or a set of buttons. The operator can jog the robot in different coordinate frames, such as joint, world, tool, or user frame. Jogging means moving the robot a small amount in a chosen direction. The operator can also use a 3D mouse or a force sensor to guide the robot more naturally. Some collaborative robots allow the operator to grab the arm and move it by hand. The robot's controller records the path and can reproduce it. This is sometimes called hand guiding or physical teaching. |
|
26.5 Waypoints and Motion Types |
A waypoint is more than just a position. It usually includes the position of the tool center point in three-dimensional space, the orientation of the tool, and sometimes the configuration of the arm. The tool center point is the point at the end of the robot that does the work, such as a welding torch, a paint spray gun, or a gripper. The orientation describes how the tool is rotated. The arm configuration describes how the joints are arranged, which matters when there are multiple ways to reach the same point. |
There are two main types of motion between waypoints: joint motion and linear motion. Joint motion moves each joint independently to reach the next waypoint. The path is not a straight line in space, but it is usually the fastest way to move. Linear motion moves the tool center point along a straight line between waypoints. This is important for tasks such as welding, gluing, or cutting, where the tool must follow a precise path. Circular motion moves the tool along an arc. Many robots also support spline motion, which creates a smooth curve through several waypoints. |
The operator chooses the motion type for each segment. For example, a pick-and-place task might use joint motion to move quickly from a home position to a pick position, then linear motion to approach the part, then joint motion to move to the place position. A welding task might use linear motion along the seam and joint motion for the approach and retreat. |

|
26.6 The Role of the Teach Pendant |
The teach pendant is the main tool for teaching by demonstration. It is a handheld control unit connected to the robot controller. It typically has a display screen, a joystick or direction buttons, a deadman switch, and an emergency stop button. The deadman switch must be held down for the robot to move in manual mode. If the operator releases it, the robot stops. This is a safety feature. |
The pendant allows the operator to select programs, jog the robot, record waypoints, edit positions, change speeds, and test the program. It also shows the robot's current position, joint angles, and status messages. Some pendants have a graphical interface that shows a 3D model of the robot and the workspace. This helps the operator avoid collisions. Other pendants are simpler, with only a small text display and a few buttons. |
In recent years, some robot vendors have replaced the traditional pendant with a tablet or a smartphone app. The tablet communicates wirelessly with the controller. This gives the operator more freedom to move around the robot while teaching. However, wireless pendants must meet strict safety standards to prevent accidental movement or loss of communication. |

|
26.7 Lead-Through Programming |
Lead-through programming is a form of teaching by demonstration in which the operator physically moves the robot arm by hand. This is possible only if the robot is designed to allow it, such as a collaborative robot or a robot with a special gravity compensation mode. In gravity compensation mode, the controller cancels the weight of the arm, so the operator can move it easily. The robot feels light and responsive. |
Lead-through programming is useful for complex paths, such as painting a curved surface or welding a difficult joint. The operator can guide the tool along the path naturally, and the robot records the motion. This is often faster and more intuitive than using a pendant. However, lead-through programming requires the operator to be close to the robot, which can be dangerous if the robot moves unexpectedly. Safety measures such as reduced speed, force limits, and emergency stops are essential. |
|
26.8 Sensor-Assisted Teaching |
Some teaching systems use sensors to help the operator. For example, a force torque sensor can detect when the tool touches a surface. The operator can then push the robot against the surface, and the robot records the contact points. This is useful for tasks such as deburring, polishing, or assembly, where the robot must follow the shape of a part. A vision sensor can also help. The operator can show the robot a part, and the vision system identifies the part's position and orientation. The robot then adjusts its waypoints accordingly. This reduces the need for precise fixtures. |
Sensor-assisted teaching is becoming more common as sensors become cheaper and more powerful. It allows robots to adapt to small variations in the workspace, which is important in high-mix, low-volume production. |

|
26.9 Offline Programming Languages |
Although teaching by demonstration is intuitive, it has limitations. It requires the robot to be stopped during programming, which reduces production time. It can be difficult to teach complex paths with many waypoints. It is also hard to reuse programs on different robots or in different factories. To address these limitations, robot vendors developed offline programming languages. These are text-based languages that allow programmers to write robot programs on a computer, simulate them, and then download them to the robot. Examples include KUKA Robot Language, ABB Rapid, Fanuc Karel, Yaskawa Inform, and Kawasaki AS. |
Offline programming languages are powerful. They support variables, loops, conditions, functions, and communication with other devices. They allow programmers to create complex logic and to integrate robots with PLCs, vision systems, and databases. They also allow simulation, which helps detect collisions and optimize cycle times before the robot is installed. However, offline programming has a steep learning curve. It requires knowledge of programming and of the specific robot vendor's language. It also requires an accurate model of the robot cell, including the robot, tool, fixtures, and parts. If the model is wrong, the program may not work in the real world. |
In practice, most robot programs are a mix of teaching and offline programming. The programmer might use offline programming to create the overall structure and logic, then use teaching to fine-tune the waypoints. Or the programmer might teach the basic path, then use offline programming to add loops and conditions. This hybrid approach combines the strengths of both methods. |
|
26.10 Advantages of Teaching by Demonstration |
Teaching by demonstration has several advantages. First, it is intuitive. A worker who knows the process can teach the robot without knowing how to write code. Second, it is fast for simple tasks. A few waypoints can be taught in minutes. Third, it does not require a computer model of the workspace. The operator can teach directly on the real robot, so there is no gap between simulation and reality. Fourth, it is flexible. If the part or fixture changes, the operator can re-teach the affected waypoints. Fifth, it is reliable. The robot repeats the recorded path exactly, which is important for tasks that require consistency. Sixth, it is widely supported. Almost every industrial robot has a teach pendant and a teaching mode. Seventh, it is good for small batch production. When the batch size is small, offline programming may not be worth the effort. Teaching is quicker and cheaper. |
|
26.11 Disadvantages of Teaching by Demonstration |
Teaching by demonstration also has disadvantages. First, it requires the robot to be stopped during programming. This means production is interrupted. Second, it can be tedious for complex paths. Teaching hundreds of waypoints by hand is slow and tiring. Third, it is difficult to edit. If a waypoint is wrong, the operator may need to re-teach a whole section. Fourth, it is hard to reuse. A program taught on one robot may not work on another robot, even if the robot model is the same, because of small differences in calibration or tooling. Fifth, it lacks abstraction. There are no variables, loops, or functions in pure teaching. This makes it hard to create flexible programs that adapt to different parts. Sixth, it can be physically demanding. Lead-through programming requires the operator to move the arm, which can be tiring for large robots. Seventh, it can be unsafe. The operator must be close to the robot, and mistakes can cause collisions. |
|
26.12 Safety Considerations |
Safety is critical in teaching by demonstration. The operator is often inside the robot's workspace, close to a powerful machine. Several safety measures are used. The deadman switch ensures that the robot stops if the operator releases it. The emergency stop button immediately cuts power to the motors. Reduced speed mode limits the robot's speed during teaching. Force limits stop the robot if it encounters too much resistance. Safety fences and light curtains protect the operator during automatic operation. In collaborative robots, safety-rated force sensors and speed limits allow the robot to work alongside humans. Risk assessment is required before any teaching task. The operator must be trained and must follow safe procedures. |

|
26.13 Applications in the Automotive Industry |
The automotive industry was the first major adopter of teaching by demonstration. In car body assembly, robots perform spot welding. A spot welding robot has a heavy welding gun. The operator teaches the robot the positions of the welds on the car body. Each weld is a waypoint. The robot moves from one weld to the next, closing the gun and applying current at each point. Teaching is done on a real car body, so the positions are accurate. If the car model changes, the operator re-teaches the welds. This is faster than reprogramming offline because the car body is already in the cell. |
In painting, robots apply primer, base coat, and clear coat. Painting requires a smooth, continuous path. The operator teaches the robot by guiding the spray gun along the surface of the car. The robot records the path and repeats it. Painting robots often use lead-through programming because the operator can feel the shape of the car and adjust the distance and angle of the gun. This produces a better finish than teaching with a pendant alone. |
In assembly, robots install windshields, seats, and wheels. These tasks require precise positioning. The operator teaches the robot the exact position of the car body and the part. The robot then picks the part and places it. Vision systems may help correct small errors. Teaching is used because the car body may vary slightly from one unit to the next. |
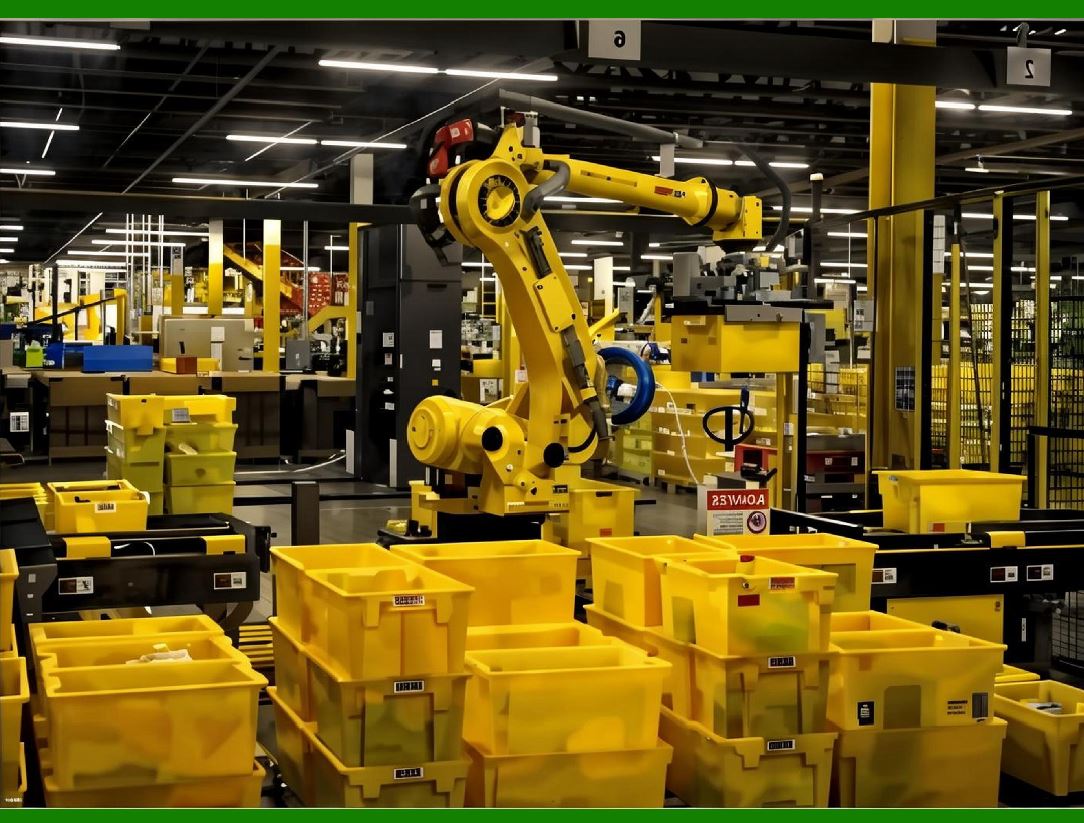
In engine and transmission manufacturing, robots load and unload machine tools. The operator teaches the robot the positions of the raw part, the chuck, and the finished part. The robot picks the raw part, inserts it into the machine, waits for the machining cycle, removes the finished part, and places it on a conveyor. This is a repetitive task that is ideal for teaching. |
|
26.14 Applications in Electronics |
The electronics industry uses teaching by demonstration for tasks such as printed circuit board assembly, component insertion, and testing. In printed circuit board assembly, robots place small components on a board. The operator teaches the robot the positions of the component feeders and the placement locations on the board. Because the components are small and the tolerances are tight, the robot must be precise. Vision systems are often used to align the component before placement. Teaching is used to set the approximate positions, and vision corrects the final position. |
In smartphone and tablet manufacturing, robots apply adhesive, screw screws, and test buttons. The operator teaches the robot the path for the adhesive dispenser. The path must be smooth and accurate. Teaching by demonstration is often faster than offline programming because the product changes frequently. The operator can re-teach the path in minutes. |
In semiconductor manufacturing, robots handle wafers. The wafers are fragile and valuable. The operator teaches the robot the positions of the cassettes, the load ports, and the process chambers. The robot must move smoothly to avoid particles. Teaching by demonstration is used because the environment is clean and the robot must be calibrated precisely. |

|
26.15 Applications in Food Processing |
The food industry uses teaching by demonstration for packaging, palletizing, and processing. In packaging, robots pick products from a conveyor and place them into boxes. The operator teaches the robot the pick position and the place position. The robot may use a vision system to locate the products on the conveyor. Teaching is used to set the box positions and the drop height. |
In palletizing, robots stack boxes or bags onto a pallet. The operator teaches the robot the pattern of the stack. The robot then repeats the pattern for each layer. Teaching is used because the pallet pattern may change depending on the product and the pallet size. The operator can create a new pattern by teaching a few waypoints. |
In meat and poultry processing, robots cut and debone. These tasks require force control and adapt to the shape of the product. The operator teaches the robot the cutting path by guiding the knife along the bone. The robot records the path and uses force sensors to adjust. This is a good example of sensor-assisted teaching. |
In bakery, robots decorate cakes and pastries. The operator teaches the robot the path for the icing dispenser. The path must be smooth and artistic. Teaching by demonstration allows the operator to create complex designs without programming. |
|
26.16 Applications in Metal Fabrication |
In metal fabrication, robots are used for welding, cutting, grinding, and bending. Welding is the most common. The operator teaches the robot the start and end points of each weld, as well as the weave pattern. The robot then follows the seam. For complex seams, the operator may use lead-through programming to guide the torch along the joint. Force sensors or vision sensors can help the robot track the seam if it is not perfectly straight. |
In plasma and laser cutting, the operator teaches the robot the path of the cut. The path must be precise and smooth. Teaching by demonstration is used for small batches and for prototypes. For large batches, offline programming is more efficient. |
In grinding and polishing, the operator teaches the robot the path along the surface. The robot must maintain a constant force against the surface. Force control is used to adjust the position. Teaching by demonstration is used because the surface may be irregular. |
In press tending, the operator teaches the robot the positions of the press and the raw and finished parts. The robot picks the raw part, places it in the press, waits for the press to close and open, removes the finished part, and places it in a bin. This is a repetitive task that is ideal for teaching. |

|
26.17 Applications in Plastics and Rubber |
In plastics injection molding, robots remove parts from the mold. The operator teaches the robot the position of the mold, the sprue, and the conveyor. The robot reaches into the mold, grabs the part, pulls it out, and places it on the conveyor. Teaching is used because the mold position may vary slightly from machine to machine. |
In blow molding, robots handle the finished bottles. The operator teaches the robot the position of the mold and the conveyor. The robot grabs the bottle and places it on the conveyor. Teaching is used because the bottle shape and size may change. |
In rubber molding, robots load and unload the molds. The operator teaches the robot the position of the mold and the raw material. The robot places the raw material in the mold, waits for the molding cycle, removes the finished part, and places it in a bin. Teaching is used because the mold may be hot and the operator must stay away. |
|
26.18 Applications in Glass |
In glass manufacturing, robots handle fragile sheets and shaped parts. In flat glass production, robots cut, grind, and stack glass sheets. The operator teaches the robot the path for the cutting tool and the positions for stacking. The robot must handle the glass gently to avoid breakage. Teaching by demonstration is used because the glass sizes and shapes vary. |
In container glass production, robots remove bottles from the forming machine and place them on a conveyor. The operator teaches the robot the position of the bottle and the conveyor. The robot must move quickly and smoothly. Teaching is used because the bottle shapes change frequently. |
In automotive glass production, robots apply primer and adhesive to windshields. The operator teaches the robot the path around the edge of the glass. The path must be smooth and accurate. Teaching by demonstration is used because the glass shape varies from model to model. |

|
26.19 Applications in Logistics and Warehousing |
In logistics and warehousing, robots pick, sort, and palletize. In order picking, robots move to shelves and pick items. The operator teaches the robot the positions of the shelves and the items. The robot may use vision to identify the items. Teaching is used because the warehouse layout may change. |
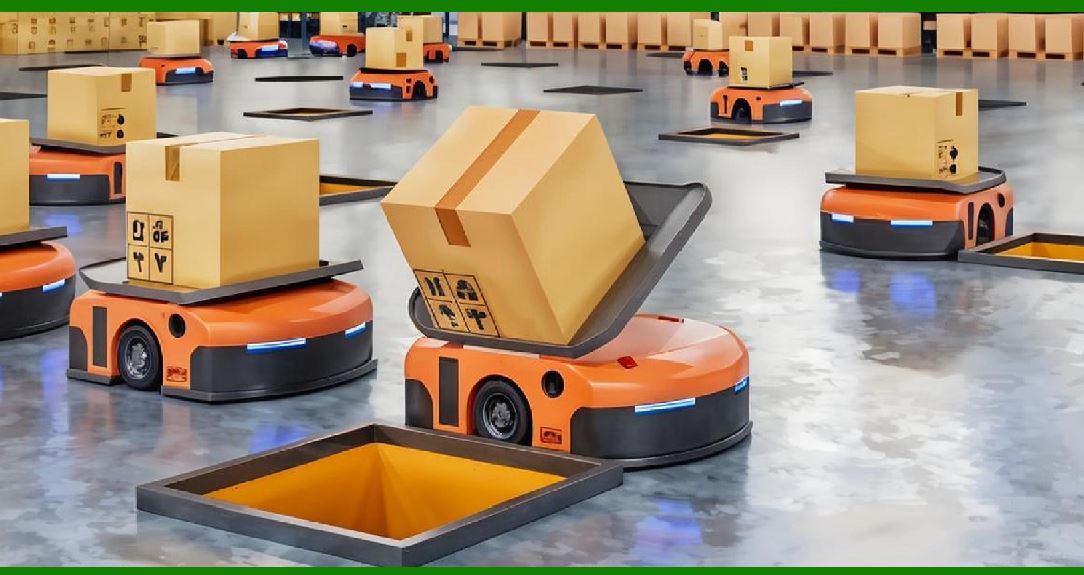
In sorting, robots move packages from one conveyor to another. The operator teaches the robot the pick and place positions. The robot may use a vision system to read barcodes. Teaching is used because the package sizes and weights vary. |
In palletizing, robots stack boxes onto pallets. The operator teaches the robot the pallet pattern. The robot repeats the pattern for each layer. Teaching is used because the pallet pattern may change depending on the product and the pallet size. |
In truck loading, robots load boxes into trucks. The operator teaches the robot the positions of the truck and the stack. The robot must plan the stack to fit the boxes. Teaching is used because the truck size and the box sizes vary. |
|
26.20 Applications in Aerospace |
In aerospace, robots drill, rivet, and inspect. In drilling, robots drill holes in aircraft panels. The operator teaches the robot the positions of the holes. The robot must be very precise. Teaching by demonstration is used for small batches and for repairs. For large batches, offline programming is used. |
In riveting, robots insert rivets into the holes. The operator teaches the robot the positions of the holes and the rivets. The robot must apply the correct force. Teaching is used because the panel shape may vary. |
In inspection, robots use cameras or lasers to check the surface of the aircraft. The operator teaches the robot the path along the surface. The robot records the data and compares it to a model. Teaching is used because the surface shape may vary. |
|
26.21 Applications in Other Industries |
Teaching by demonstration is also used in many other industries. In foundries, robots pour molten metal. The operator teaches the robot the position of the ladle and the mold. The robot must move smoothly to avoid splashing. In forging, robots move hot metal between presses. The operator teaches the robot the positions of the presses and the metal. In woodworking, robots cut, sand, and paint. The operator teaches the robot the path along the wood. In stoneworking, robots cut and polish stone. The operator teaches the robot the path along the stone. In agriculture, robots pick fruits and vegetables. The operator teaches the robot the position of the plant and the fruit. In construction, robots lay bricks and drill holes. The operator teaches the robot the position of the wall and the holes. |
|
26.22 Teaching by Demonstration with Collaborative Robots |
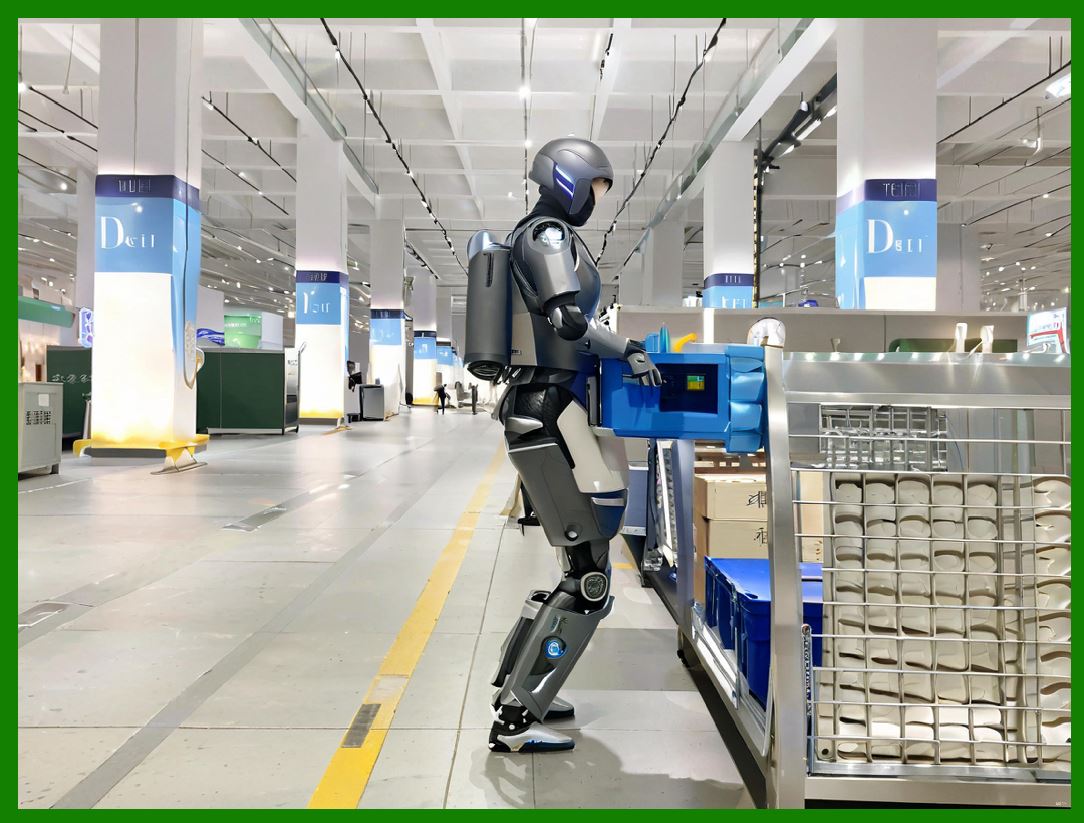
Collaborative robots, or cobots, are designed to work alongside humans. They are often programmed by teaching by demonstration. The operator can grab the cobot's arm and move it to the desired position. The cobot records the waypoint. This is very intuitive and requires no programming knowledge. Cobots are used in small and medium-sized enterprises for tasks such as machine tending, assembly, packaging, and quality inspection. They are also used in laboratories and hospitals. Teaching by demonstration is a key feature of cobots because it makes them easy to use. |
|
26.23 Teaching by Demonstration with Mobile Robots |
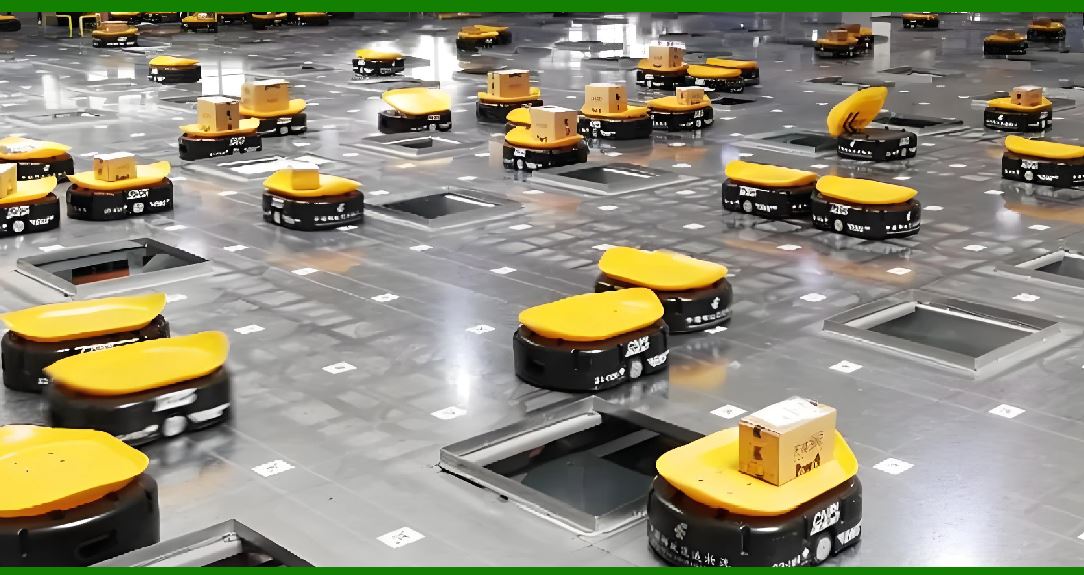
Mobile robots, such as autonomous mobile robots, use teaching by demonstration to learn routes. The operator walks the robot through the facility, and the robot records the path. The robot then repeats the path. This is useful in warehouses and hospitals. The operator can also teach the robot new pick and place positions. Mobile manipulators, which combine a mobile base with a robot arm, use teaching by demonstration to learn both the route and the manipulation task. |
|
26.24 Teaching by Demonstration with Vision Systems |
Vision systems can enhance teaching by demonstration. The operator teaches the robot a few waypoints, and the vision system adjusts the path based on what it sees. For example, in bin picking, the operator teaches the robot the approximate position of the bin. The vision system finds the parts in the bin and tells the robot where to pick them. In assembly, the operator teaches the robot the approximate position of the hole. The vision system finds the exact position and tells the robot where to insert the screw. This reduces the need for precise fixtures and makes the robot more flexible. |

|
26.25 Teaching by Demonstration with Force Control |
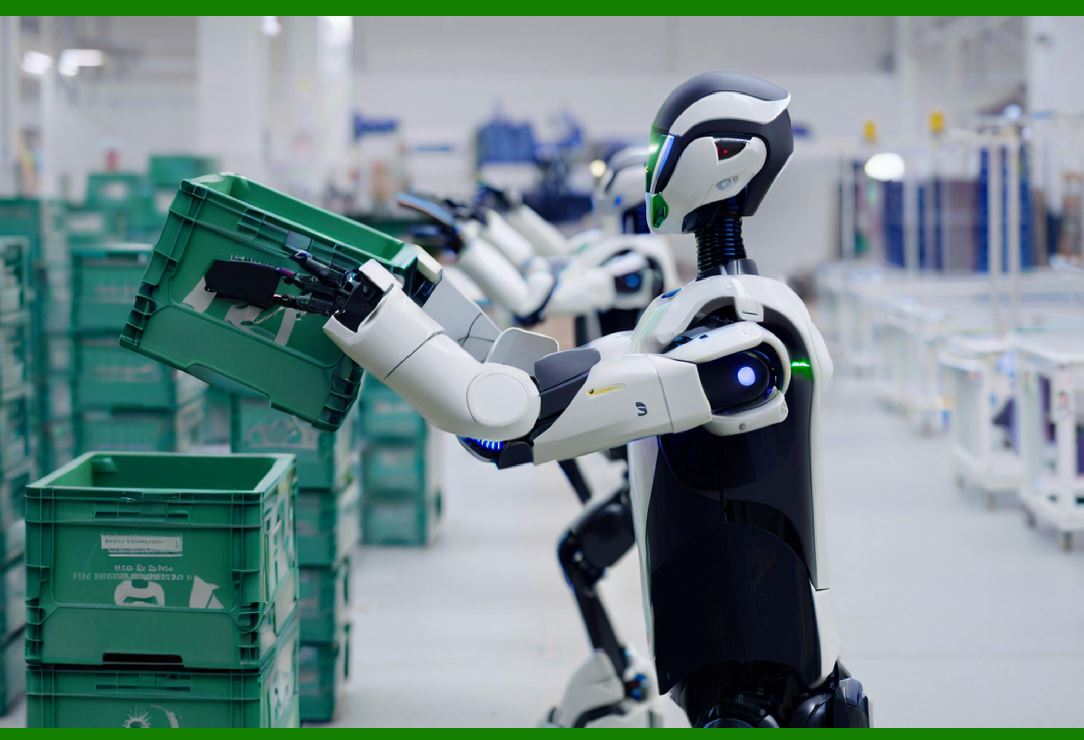
Force control can enhance teaching by demonstration. The operator teaches the robot the approximate path, and the force sensor adjusts the path based on the force. For example, in deburring, the operator teaches the robot the path along the edge. The force sensor keeps the tool pressed against the edge. In polishing, the operator teaches the robot the path along the surface. The force sensor keeps the tool pressed against the surface. In assembly, the operator teaches the robot the approximate position of the hole. The force sensor guides the peg into the hole. This makes the robot more robust to variations. |
|
26.26 Teaching by Demonstration with Augmented Reality |
Augmented reality can help teaching by demonstration. The operator wears a headset that shows a virtual model of the robot and the workspace. The operator can point to a position, and the robot moves there. The operator can also see the planned path and the waypoints. This makes teaching faster and more accurate. Augmented reality is still an emerging technology, but it has the potential to change how robots are taught. |
26.27 Teaching by Demonstration with Speech Recognition |
Speech recognition can help teaching by demonstration. The operator can say commands such as 'record waypoint' or 'move to next point.' This frees the operator's hands and makes teaching faster. Speech recognition is not yet common in industrial robots, but it is being researched. It could be useful in clean rooms or in hazardous environments where the operator cannot touch the pendant. |
|
26.28 Teaching by Demonstration with Gesture Recognition |
Gesture recognition can help teaching by demonstration. The operator can use hand gestures to move the robot or to record waypoints. This is similar to speech recognition. It frees the operator's hands and makes teaching more natural. Gesture recognition is also an emerging technology. |
26.29 Teaching by Demonstration with Haptic Feedback |
Haptic feedback can help teaching by demonstration. The operator uses a haptic device, such as a force-feedback joystick, to move the robot. The device provides resistance when the robot touches something. This gives the operator a sense of touch. Haptic feedback is useful for tasks such as assembly and polishing. It is not yet common in industrial robots, but it is being researched. |
|
26.30 Teaching by Demonstration with Digital Twins |
A digital twin is a virtual model of the robot and the workspace. The operator can teach the robot in the digital twin, and the program can be downloaded to the real robot. This is a form of offline programming, but it can be combined with teaching by demonstration. For example, the operator can use a haptic device to teach the robot in the digital twin, and the robot can then repeat the path in the real world. This combines the intuitiveness of teaching with the safety and flexibility of offline programming. |
26.31 Teaching by Demonstration with Cloud Robotics |
Cloud robotics allows robots to share programs and data over the internet. A program taught on one robot can be uploaded to the cloud and downloaded to another robot. This makes it easier to reuse programs across factories. However, it also raises issues of security and standardization. Different robots have different coordinate systems and different waypoint formats. Cloud robotics is still an emerging technology. |
|
26.32 Teaching by Demonstration with Machine Learning |
Machine learning can enhance teaching by demonstration. Instead of recording exact waypoints, the robot can learn a policy from demonstrations. The operator shows the robot how to do a task several times, and the robot learns to generalize. This is called learning from demonstration. It is useful for tasks that are hard to program explicitly, such as grasping irregular objects or moving in cluttered environments. Machine learning is still an emerging technology in industrial robotics, but it has the potential to make teaching by demonstration more powerful. |
26.33 Comparison with Other Programming Methods |
Teaching by demonstration is one of several programming methods. Others include offline programming, textual programming, graphical programming, and learning from demonstration. Offline programming uses a computer model and a text-based language. Textual programming uses a text editor and a programming language. Graphical programming uses a graphical interface and blocks or flowcharts. Learning from demonstration uses machine learning to generalize from examples. Each method has strengths and weaknesses. Teaching by demonstration is intuitive and fast for simple tasks. Offline programming is powerful and flexible for complex tasks. Textual programming is the most powerful but also the most difficult. Graphical programming is a compromise. Learning from demonstration is the most flexible but also the least mature. In practice, most robot programs use a combination of methods. |
|
26.34 Best Practices for Teaching by Demonstration |
Several best practices can make teaching by demonstration more effective. First, plan the task before teaching. Decide on the waypoints and the motion types. Second, use a consistent coordinate system. This makes it easier to edit and reuse programs. Third, use the correct tool center point. This ensures that the robot moves the tool correctly. Fourth, use slow speeds during teaching. This reduces the risk of collisions. Fifth, test the program in slow mode before running it in automatic mode. Sixth, use simulation to check for collisions. Seventh, document the program. Record the waypoints and the parameters. Eighth, train the operators. Make sure they know how to use the pendant and how to teach safely. Ninth, use safety measures. Use the deadman switch, the emergency stop, and reduced speed mode. Tenth, review and improve the program. Look for ways to reduce cycle time and improve quality. |
|
26.35 Common Mistakes in Teaching by Demonstration |
Several common mistakes can cause problems. First, teaching too few waypoints. This can cause the robot to take shortcuts or collide with fixtures. Second, teaching too many waypoints. This can make the program slow and hard to edit. Third, using the wrong motion type. This can cause the robot to move in an unexpected path. Fourth, using the wrong tool center point. This can cause the robot to miss the target. Fifth, forgetting to set the speed. This can cause the robot to move too fast or too slow. Sixth, forgetting to set the blend radius. This can cause the robot to stop at each waypoint or to cut corners. Seventh, not testing the program. This can cause collisions or damage. Eighth, not documenting the program. This makes it hard to maintain. Ninth, not training the operators. This can cause accidents. Tenth, not reviewing the program. This can lead to inefficiency. |
|
26.36 The Future of Teaching by Demonstration |
The future of teaching by demonstration is likely to be a mix of old and new. Traditional teaching with a pendant will remain important for simple tasks and for small and medium-sized enterprises. New technologies such as collaborative robots, vision systems, force control, augmented reality, speech recognition, gesture recognition, haptic feedback, digital twins, cloud robotics, and machine learning will make teaching more powerful and more intuitive. The trend is toward easier programming, faster setup, and more flexibility. Teaching by demonstration will continue to be a core skill for robot operators and technicians. It will also be a key enabler for the next generation of industrial robots. |
|
26.37 Detailed Summary |
Teaching by Demonstration is a programming method in which a human operator guides a robot arm through a series of positions that are recorded as waypoints. The robot then repeats the recorded path or sequence of points. This method became the dominant programming approach in the early decades of industrial robotics because it required no deep knowledge of computer programming. A skilled worker who understood the process could teach the robot directly on the factory floor. |
The process usually involves selecting a program, moving the robot to a waypoint using a teach pendant or direct manual guidance, recording the waypoint, and repeating until all required positions are stored. The operator then sets motion parameters such as speed, acceleration, blend radius, and tool orientation. The program is tested in slow mode, adjusted as needed, and then run in automatic mode. |
A waypoint includes the position of the tool center point, the orientation of the tool, and sometimes the configuration of the arm. Motion between waypoints can be joint motion, linear motion, circular motion, or spline motion. The operator chooses the motion type for each segment based on the task. |
The teach pendant is the main tool for teaching by demonstration. It allows the operator to select programs, jog the robot, record waypoints, edit positions, change speeds, and test the program. Lead-through programming is a form of teaching by demonstration in which the operator physically moves the robot arm by hand. Sensor-assisted teaching uses force torque sensors or vision sensors to help the operator. |
Offline programming languages such as KUKA Robot Language, ABB Rapid, Fanuc Karel, Yaskawa Inform, and Kawasaki AS are powerful text-based languages that allow programmers to write robot programs on a computer, simulate them, and then download them to the robot. In practice, most robot programs are a mix of teaching and offline programming. |
|
Teaching by demonstration has several advantages. It is intuitive, fast for simple tasks, does not require a computer model, is flexible, is reliable, is widely supported, and is good for small batch production. It also has disadvantages. It requires the robot to be stopped during programming, can be tedious for complex paths, is difficult to edit, is hard to reuse, lacks abstraction, can be physically demanding, and can be unsafe. |
Safety is critical. The deadman switch, emergency stop button, reduced speed mode, force limits, safety fences, and light curtains are used to protect the operator. Risk assessment and training are required. |
Teaching by demonstration is used in many industries. In the automotive industry, it is used for spot welding, painting, assembly, and machine tending. In electronics, it is used for printed circuit board assembly, component insertion, and testing. In food processing, it is used for packaging, palletizing, and processing. In metal fabrication, it is used for welding, cutting, grinding, and press tending. In plastics and rubber, it is used for injection molding, blow molding, and rubber molding. In glass, it is used for flat glass, container glass, and automotive glass. In logistics and warehousing, it is used for order picking, sorting, palletizing, and truck loading. In aerospace, it is used for drilling, riveting, and inspection. It is also used in foundries, forging, woodworking, stoneworking, agriculture, and construction. |
Collaborative robots, mobile robots, vision systems, force control, augmented reality, speech recognition, gesture recognition, haptic feedback, digital twins, cloud robotics, and machine learning are all enhancing teaching by demonstration. These technologies make teaching more powerful and more intuitive. |
Best practices include planning the task, using a consistent coordinate system, using the correct tool center point, using slow speeds during teaching, testing the program in slow mode, using simulation, documenting the program, training the operators, using safety measures, and reviewing and improving the program. Common mistakes include teaching too few or too many waypoints, using the wrong motion type, using the wrong tool center point, forgetting to set the speed, forgetting to set the blend radius, not testing the program, not documenting the program, not training the operators, and not reviewing the program. |
|
The future of teaching by demonstration is likely to be a mix of traditional teaching with a pendant and new technologies. Teaching by demonstration will continue to be a core skill for robot operators and technicians. It will also be a key enabler for the next generation of industrial robots. As robots become more capable and more collaborative, teaching by demonstration will become even more important. It is the bridge between human skill and machine precision. It allows factories to automate tasks without hiring computer programmers. It allows small and medium-sized enterprises to use robots. It allows workers to pass their knowledge to machines. It is, and will remain, a fundamental part of industrial robotics. |
 cs@easiersoft.com